
龍義のug110 - 整備と改造1
2000年11月11日、整備点検を行った。
そのときの様子と、行った改造。
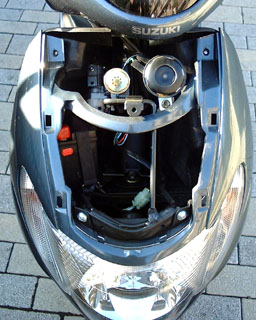
とりあえず、フロントのカウルを外す。
右上がホーン、左の奥に見えるのがバッテリー。
スペースに少し余裕があるので、何か積めるかも。

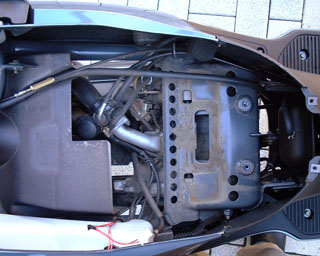
シートとサイドカウルを外す。
オイルタンクが斜めに付いている。
オイルタンク左上に見えるのは、メットインランプのコネクタ。
シート下部。
砂が溜まっている。
これを払うと、既に錆が出ていた。
ちょっとショック。

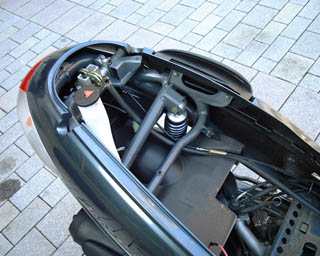
車体下部。
カタログには写っていないが、実際は2本のホースが出ている。
手前がガソリンタンクからのもの、奥がオイル注入口からのもの。
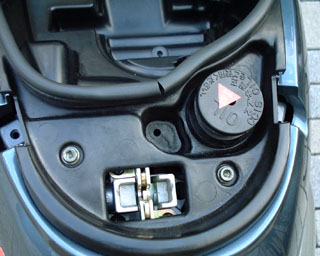
オイル注入口。
中央の小さな穴から、車体下部までホースが伸びる。
オイル注入口からのホースは、このような経路で本体下部へ。。
いらないと思ったので、このホースは抜いてしまいました。
さらにメットインランプは使わないので、コネクタの接続を行わずに組み立てした。
戻る
次へ
Last update: 2000.11.19
Since 2000